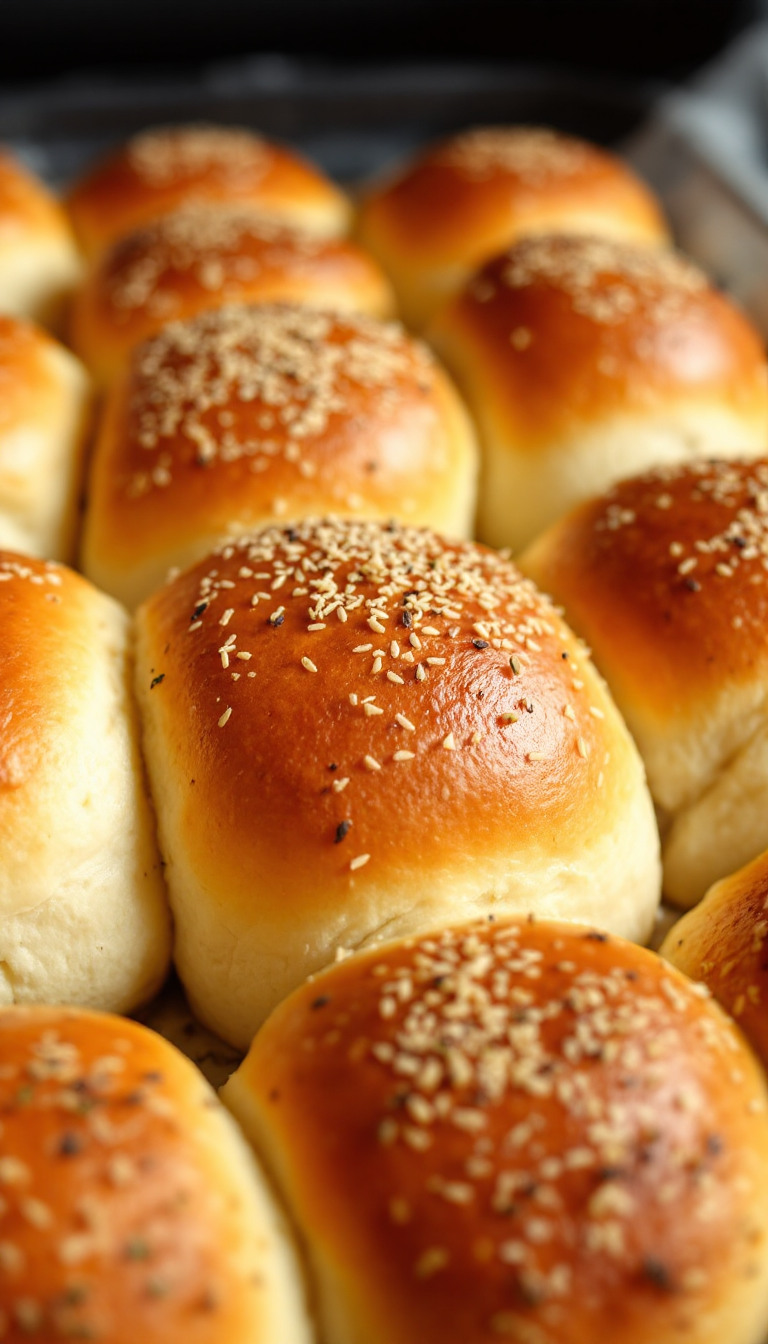
Ah, the humble dinner roll—a staple at many a family table and gathering, yet often overshadowed by its flashier counterparts like the elaborate casserole or decadent dessert. But let’s not underestimate the power of a perfectly soft and fluffy roll.
I remember sitting at my grandma’s table as a kid, the aroma of freshly baked bread wafting through the kitchen, mingling with the scent of her ever-so-slightly burnt roast. It was the rolls, though, that everyone fought over.
(Isn’t it funny how something so simple can create such chaos? ) These rolls, they’re like a hug for your taste buds, warm and comforting.
And with Thanksgiving just around the corner—seriously, can you believe how fast this year went? —it’s the perfect time to master this recipe.
Whether slathered with butter or used to mop up gravy, these rolls promise to be the unsung heroes of your next meal. So, dust off that apron and let’s get baking—it’s time to make some memories.
Steps
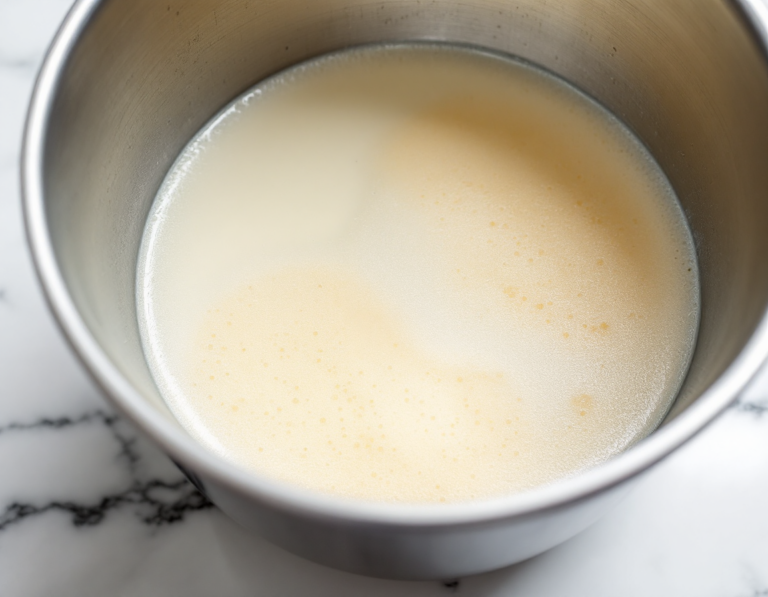
- Begin by warming the milk and combining it with yeast and a bit of sugar in a mixing bowl. Let it sit for five minutes to activate the yeast.
- Add the remaining sugar, an egg, softened butter, salt, and one cup of flour to the yeast mixture. Mix on low speed, then gradually incorporate more flour until the dough is soft yet manageable.
- Knead the dough for about five minutes, either in the mixer or by hand on a floured surface, until it becomes smooth and elastic.
- Place the dough in a greased bowl, cover it, and let it rise in a warm area for 1-2 hours until it doubles in size.
- Punch down the risen dough and divide it into 14-16 pieces, shaping each into a ball. Arrange them in a greased baking pan.
- Cover the shaped rolls and let them rise for another hour until they become puffy.
- Preheat your oven to 350°F (177°C) and bake the rolls for 20-25 minutes until they turn golden brown. Optionally, brush them with melted butter and honey after baking.
Ingredients
- 1 cup (240ml) whole milk, warmed to about 110°F (43°C)
- 2 and 1/4 teaspoons instant yeast (such as Platinum Yeast from Red Star)
- 2 tablespoons granulated sugar, divided
- 1 large egg
- 1/4 cup (4 tablespoons or 56g) unsalted butter, softened to room temperature and cut into 4 pieces
- 1 teaspoon salt
- 3 cups (390g) all-purpose flour or bread flour (spooned and leveled)
- Optional topping: 2 tablespoons (28g) melted unsalted butter mixed with 1 tablespoon honey
FAQ
- Can I use a different type of yeast in this recipe?
- Yes, you can use either active dry yeast or instant yeast. If you choose active dry yeast, keep in mind that the rise times will be slightly longer compared to using instant yeast.
- What kind of flour should I use for the soft dinner rolls?
- You can use all-purpose flour or bread flour for this recipe. All-purpose flour is more convenient for most people, but bread flour will give you chewier dinner rolls. Both types of flour will result in soft and fluffy rolls.
- How can I make the rolls ahead of time?
- You can prepare the dough, let it rise, and shape the rolls. Then cover them tightly and refrigerate for up to 16 hours. On the day you plan to bake them, allow the rolls to rise at room temperature for about 1-2 hours before baking.
- Can I freeze the dinner rolls?
- Yes, you can freeze the shaped rolls before baking. Place them in a greased baking pan, cover tightly, and freeze. When ready to bake, let them thaw and rise for about 4-5 hours before baking. You can also freeze the baked rolls and reheat them later.
- What is the best way to ensure my dough rises properly?
- Make sure your yeast is fresh and not expired. Additionally, place the dough in a warm environment to rise. Cover the bowl with a towel or plastic wrap to retain warmth and humidity, which helps the dough rise effectively.
Tips
- Ensure Proper Yeast Activation: Use whole milk warmed to about 110°F (43°C) to activate the yeast effectively. This temperature helps the yeast thrive, ensuring the dough rises well.
- Kneading Technique: Whether using a stand mixer or kneading by hand, aim for a soft and slightly sticky dough. Avoid adding too much flour during kneading, as this can lead to a dry dough. Perform the “windowpane test” by stretching a small piece of dough to check if it’s been kneaded enough.
- Shaping and Rising: After the first rise, punch down the dough and divide it into 14-16 pieces. Shape each piece into a smooth ball, making sure the top is smooth and the bottom sealed. Allow the shaped rolls to rise again until puffy before baking.
- Freezing and Storage Tips: To save time, prepare the rolls ahead of time and freeze them. Once shaped, freeze them in a greased pan, then transfer to a freezer bag. Let them thaw and rise for 4-5 hours before baking. You can also freeze baked rolls for up to 3 months, then reheat as needed.
Equipment
- Electric Stand Mixer
- Dough Hook or Paddle Attachment for the mixer
- Bench Scraper
- 9×13-inch Glass Baking Pan
- Pastry Brush