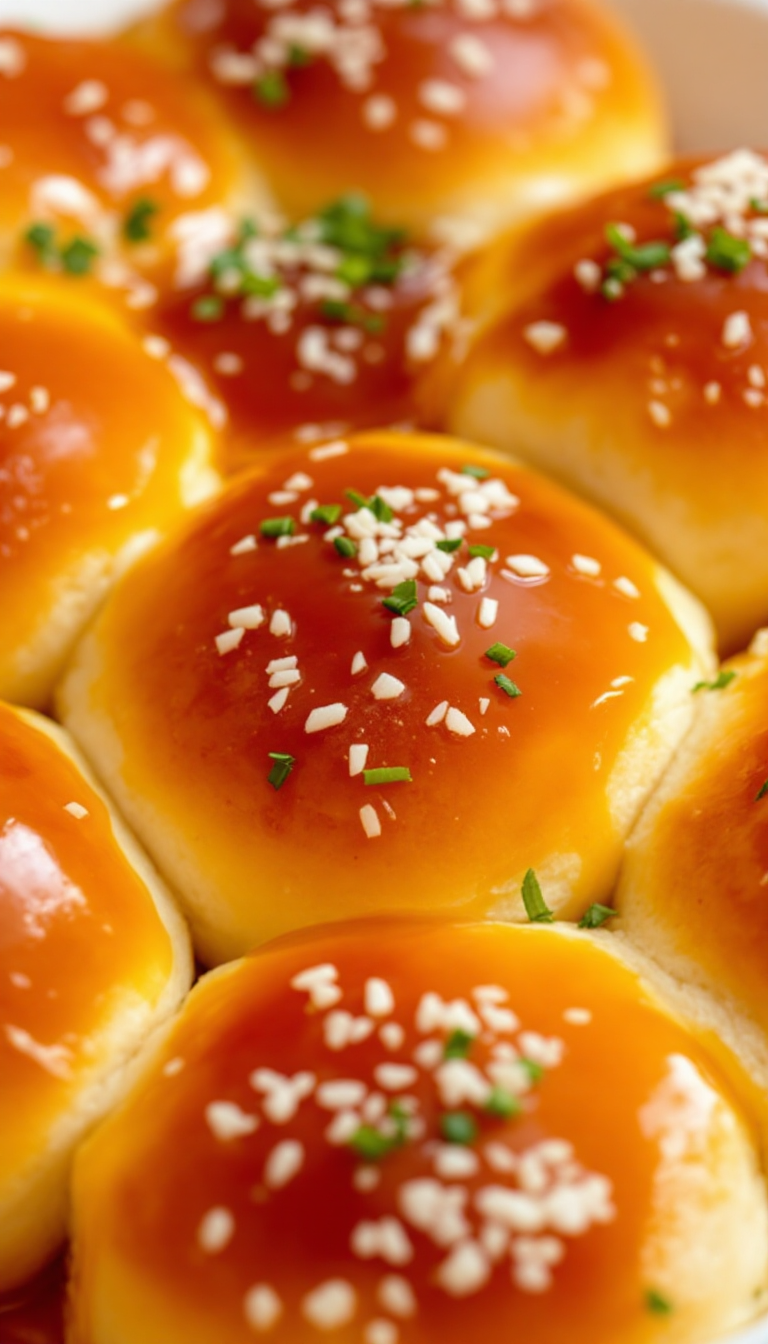
Ah, the simple joys of bread fresh from the oven—the warmth, the aroma, the way a soft, fluffy roll just melts in your mouth. These honey dinner rolls are like little pillows of happiness; they take me back to Grandma’s kitchen where everything seemed to taste better. Imagine biting into one on a cold winter day, with a bowl of soup, or just slathered with butter—pure bliss.
Steps
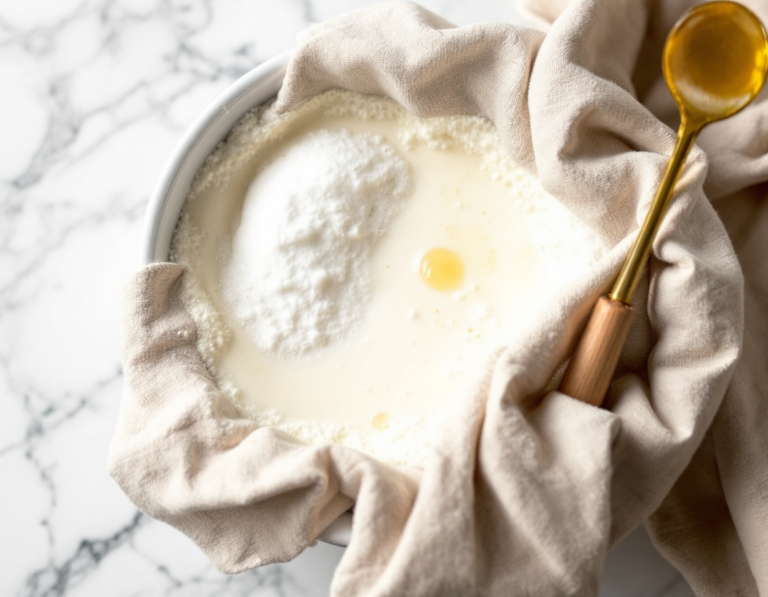
- Begin by mixing the warm milk, yeast, and a teaspoon of honey in a bowl. Cover and let the mixture sit for 5-10 minutes until it becomes frothy and foamy.
- Add the remaining honey, egg, egg yolk, melted butter, salt, and 3 cups of flour to the yeast mixture. Mix on low speed for a minute, then add the remaining half cup of flour and mix until the dough is thick, soft, and slightly sticky.
- Knead the dough for 8-10 minutes, either by hand on a lightly floured surface or using a stand mixer. Add small amounts of flour if the dough is too sticky, aiming for a soft, slightly tacky texture. Perform the “windowpane test” to check if the dough is ready.
- Grease a large bowl with oil, place the dough inside, and turn it to coat all sides. Cover the bowl and let the dough rise in a warm environment for 1-2 hours, or until it has doubled in size.
- Once risen, punch down the dough to release air and divide it into 15 equal pieces. Shape each piece into a smooth ball and place them in a greased baking pan.
- Cover the shaped rolls loosely and let them rise for another hour until they are doubled in size and puffy.
- Preheat your oven to 350°F (177°C) and bake the rolls for 20-25 minutes, rotating the pan halfway through. If the tops brown too quickly, cover the rolls loosely with aluminum foil.
- Prepare the honey butter topping by mixing softened butter with honey until creamy. Spread a generous amount on each warm roll as soon as they come out of the oven. Serve with any leftover honey butter.
Ingredients
- 1 cup (240ml) whole milk, warmed to about 110°F (43°C)
- 2 and 1/4 teaspoons (7g) instant or active dry yeast (1 standard packet)
- 1/4 cup (85g) + 1 teaspoon honey, divided
- 1 large egg + 1 egg yolk
- 1/4 cup (4 tablespoons; 56g) unsalted butter, melted and slightly cooled
- 1 teaspoon salt
- 3 and 1/2 cups (455g) bread flour (spooned and leveled)
- 1/4 cup (4 tablespoons; 56g) unsalted butter, very soft
- 2 tablespoons (42g) honey
FAQ
- What type of yeast should I use for honey butter rolls?
- You can use either instant yeast or active dry yeast for this recipe. If you opt for active dry yeast, be aware that the rising times will be slightly longer. It’s recommended to use Platinum Yeast from Red Star, which is an instant yeast mixed with natural dough enhancers.
- Can I substitute whole milk with another type of milk?
- While whole milk gives the best flavor and texture, you can substitute it with lower-fat or nondairy milk if needed. However, using whole milk or buttermilk will yield the richest results.
- What is the purpose of kneading the dough?
- Kneading the dough incorporates air, which keeps the rolls soft, and helps form a strong gluten network. This gluten network is essential for trapping the gas produced by the yeast, resulting in chewy and delicious bread.
- How can I tell if my dough has been kneaded enough?
- To check if your dough is adequately kneaded, perform the windowpane test. Tear off a small piece of dough and gently stretch it until it’s thin enough for light to pass through without tearing. If it passes this test, the dough is ready to rise.
- Can I prepare the rolls in advance?
- Yes, you can prepare the dough ahead of time. After shaping the rolls, cover them tightly and refrigerate for up to 15 hours. Before baking, let them rise on the counter for 1–2 hours. Alternatively, you can freeze the shaped rolls for up to 3 months and thaw them before baking.
Tips
- Use Honey for Yeast Proofing: Instead of granulated sugar, you can use a teaspoon of honey to proof the yeast, as it’s already a key ingredient in the recipe. This simplifies the process and enhances the rolls’ honey flavor.
- Knead Thoroughly: Knead the dough for about 8–10 minutes. This step is crucial to ensure the rolls remain soft and fluffy by developing the gluten network properly.
- Choose the Right Flour: While all-purpose flour works well, using bread flour can result in chewier rolls due to its higher gluten content. Either option will yield deliciously soft rolls.
- Perfect Your Honey Butter: Ensure your butter is very soft before mixing it with honey for the topping. This will make it easier to spread over the warm rolls right out of the oven, adding a sweet finishing touch.
Equipment
- Stand Mixer – Useful for kneading dough efficiently with a dough hook attachment.
- 9×13-inch Glass Baking Pan – Preferred for baking the rolls to ensure even browning.
- Bench Scraper – Helpful for dividing and working with dough.
- Silicone Spatula – Useful for mixing and scraping bowls.
- Wooden Spoon – An alternative for mixing dough by hand if not using a stand mixer.