Thanksgiving is that magical time when the aroma of warm bread fills the house, swirling around like an embrace from an old friend. These dinner rolls are more than just a side dish; they’re little clouds of joy, soft and fluffy, perfect for soaking up gravy—if they make it to the table before getting devoured! My grandma used to say that a Thanksgiving without these rolls is like a sky without stars, and honestly, who could argue with that?
Steps
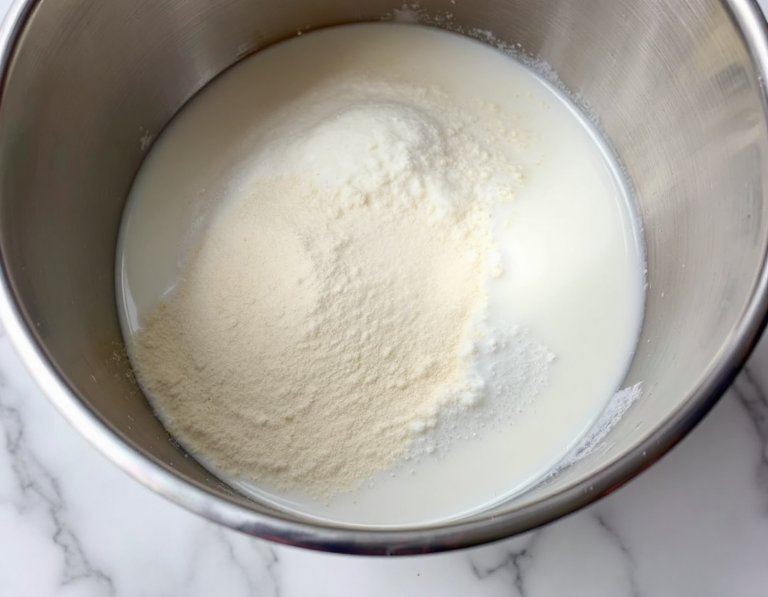
- Begin by mixing warm milk, yeast, and a tablespoon of sugar in a mixing bowl, and let it sit for 5 minutes. Add the rest of the sugar, egg, butter, salt, and a portion of the flour to the mixture.
- Use a dough hook or paddle attachment to blend the ingredients at low speed for 30 seconds. Gradually add the remaining flour while increasing the speed to medium until the dough forms and pulls away from the bowl’s sides.
- Proceed to knead the dough, either by keeping it in the mixer for 5 minutes or by hand on a floured surface. If the dough becomes sticky, sprinkle a small amount of flour to maintain a soft texture.
- Lightly grease a large bowl and place the dough inside, turning it to coat all sides. Cover it and let it rise in a warm place for 1-2 hours, or until it has doubled in size.
- Once risen, punch down the dough to release air, then divide it into 14-16 pieces. Roll each piece into a smooth ball and arrange them in a greased baking pan.
- Cover the shaped rolls and let them rise again for about an hour until they become puffy. Preheat the oven to 350°F (177°C) with the rack in a lower position.
- Bake the rolls for 20-25 minutes until they are golden brown. Optionally, brush the warm rolls with a mix of melted butter and honey for added flavor before serving.
Ingredients
- 1 cup (240ml) whole milk, warmed to about 110°F (43°C)
- 2 and 1/4 teaspoons instant yeast (1 standard packet)
- 2 tablespoons granulated sugar, divided
- 1 large egg
- 1/4 cup (4 tablespoons; 56g) unsalted butter, softened to room temperature and cut into 4 pieces
- 1 teaspoon salt
- 3 cups (390g) all-purpose flour or bread flour, spooned and leveled
- Optional topping: 2 tablespoons (28g) melted unsalted butter mixed with 1 tablespoon honey
FAQ
- Can I use a different type of milk for these dinner rolls?
- Yes, you can use nondairy or low-fat milk, but whole milk is recommended for the best flavor and texture.
- What type of yeast should I use, and how does it affect the rise time?
- You can use either active dry yeast or instant yeast. If you opt for active dry yeast, the rise times will be slightly longer. Instant yeast, like Platinum Yeast from Red Star, is recommended for quicker results.
- How do I freeze the dinner rolls for later use?
- After shaping the rolls, place them in a greased baking pan and freeze. Once frozen, transfer them to a freezer bag. On the day you want to serve them, arrange them back in a greased pan, let them thaw and rise for 4-5 hours, then bake.
- What should I do if my dough is too sticky to knead?
- If the dough is excessively sticky, gradually add more flour, one tablespoon at a time, until it reaches a soft, slightly tacky consistency that’s manageable to knead.
- Can I prepare the dough the night before baking?
- Absolutely. After shaping the rolls, cover them and refrigerate for up to 15 hours. Before baking, let them sit at room temperature for 1-2 hours to rise. Alternatively, let the dough have its first rise in the fridge overnight, then allow it to fully rise for an additional 2 hours before shaping and baking.
Tips
- Check Your Yeast: Ensure your yeast is fresh and not expired to guarantee the rolls rise properly. Refer to the expiration date on the package.
- Accurate Flour Measurement: Avoid dense rolls by accurately measuring your flour. Use the spoon-and-level method rather than scooping directly from the bag to prevent using too much flour.
- Make-Ahead Convenience: If you’re short on time, prepare the rolls in advance and refrigerate them overnight. Allow them to rise for a couple of hours at room temperature before baking the next day.
- Baking Pan Choice: For even browning, consider using a glass baking pan, as metal pans may cause the rolls to brown too quickly. Place the baking pan on a lower oven rack to avoid over-browning the tops.
Equipment
- Electric Stand Mixer – Useful for mixing and kneading the dough, especially with a dough hook or paddle attachment.
- 9×13-inch Glass Baking Pan – Preferred for baking the rolls to ensure even browning.
- Bench Scraper – Helpful for dividing and shaping the dough.
- Pastry Brush – Used for brushing the rolls with butter or honey butter topping.