Ah, dinner rolls. They’re like the comforting hug of the bread world, aren’t they? Soft, pillowy clouds of dough that somehow make every meal feel a bit more special.
I remember the first time I tried making them—I was probably trying to impress someone, as you do. The kitchen was chaos, flour everywhere, and I’m pretty sure I forgot to add salt (oops! ).
Yet, despite the mishaps, the rolls turned out surprisingly well, and the aroma that filled the house was. . .
unforgettable. Now, with a few more attempts under my belt, I’ve got a recipe that’s become a staple at every family gathering. It’s like the MVP of side dishes.
Whether it’s Thanksgiving or a random Tuesday night, these rolls always steal the show. So, if you’re looking to add a little extra warmth to your table, these soft and fluffy dinner rolls are just the ticket.
Steps
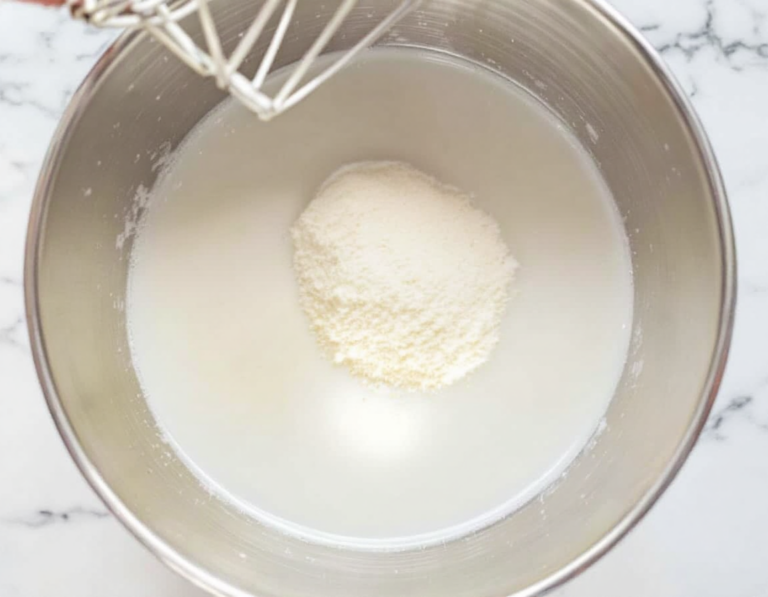
- Begin by mixing warm milk, yeast, and a tablespoon of sugar in a bowl, then let it sit for 5 minutes to activate the yeast.
- Add the remaining sugar, egg, softened butter, salt, and one cup of flour to the bowl. Mix on low speed until combined, then gradually add the rest of the flour and mix until the dough forms and pulls away from the bowl sides.
- Knead the dough either by hand on a floured surface or with a mixer for 5 minutes. Add flour as needed to keep the dough soft but not too sticky, ensuring it passes the “windowpane test.”
- Lightly oil a large bowl and place the dough inside, turning to coat it in oil. Cover and let it rise in a warm area for 1-2 hours until it doubles in size.
- Punch down the risen dough to release air and divide it into 14-16 pieces. Shape each into a smooth ball and arrange them in a greased baking pan.
- Cover the shaped rolls and let them rise for about an hour until they become puffy.
- Preheat your oven to 350°F (177°C) and position the rack lower to prevent burning. Bake the rolls for 20-25 minutes until golden, rotating halfway through.
- Optionally, brush the warm rolls with a mixture of melted butter and honey for added flavor, then allow them to cool slightly before serving.
Ingredients
- 1 cup (240ml) whole milk, warmed to approximately 110°F (43°C)
- 2 and 1/4 teaspoons instant yeast (such as Platinum Yeast from Red Star), equivalent to 1 standard packet
- 2 tablespoons granulated sugar, divided
- 1 large egg
- 1/4 cup (4 tablespoons; 56g) unsalted butter, softened to room temperature and divided into 4 pieces
- 1 teaspoon salt
- 3 cups (390g) all-purpose flour or bread flour, measured by spooning and leveling
- Optional topping: 2 tablespoons (28g) melted unsalted butter mixed with 1 tablespoon honey
FAQ
- Can I use a different type of milk in the dinner rolls recipe?
- Yes, you can use non-dairy or low-fat milk, but whole milk is recommended for the best flavor and texture.
- What type of yeast works best for these rolls?
- You can use either active dry yeast or instant yeast. If using active dry yeast, expect slightly longer rise times. Platinum Yeast from Red Star is a good choice as it includes natural dough improvers.
- Can I prepare the rolls ahead of time?
- Absolutely! You can prepare the dough, let it rise, shape the rolls, and then refrigerate them for up to 16 hours. Allow them to rise at room temperature for 1-2 hours before baking the next day.
- Is it possible to freeze the rolls?
- Yes, you can freeze both shaped and baked rolls. For shaped rolls, allow them to thaw and rise for 4-5 hours before baking. Baked rolls can be frozen and reheated as needed.
- What flour should I use for this recipe?
- Both all-purpose flour and bread flour work well. Bread flour will give a chewier texture, but the rolls will be soft and fluffy with either option.
Tips
- Check Yeast Freshness: Verify that your yeast is not expired to ensure it activates properly and your rolls rise well. The expiration date is usually printed on the packaging.
- Kneading Technique: If you’re new to kneading dough, consider watching a tutorial to perfect your technique. Kneading by hand or using a mixer are both viable options; ensure the dough is smooth and elastic for the best results.
- Correct Flour Measurement: To avoid dense rolls, measure your flour accurately. Use the spoon-and-level method instead of scooping directly from the bag to achieve the right dough consistency.
- Make-Ahead and Freezing Options: For convenience, you can prepare the rolls in advance. Shape and refrigerate overnight, letting them rise on the counter before baking. Alternatively, freeze shaped rolls for later use, allowing them sufficient time to thaw and rise before baking.
Equipment
- Electric Stand Mixer – Useful for mixing and kneading the dough with less effort.
- Paddle Attachment or Dough Hook – Attachments for the stand mixer to effectively mix and knead dough.
- Bench Scraper – Handy for dividing and shaping the dough.
- 9×13-inch Glass Baking Pan – Preferred for baking the rolls as it helps prevent them from browning too quickly.
- Pastry Brush – Useful for brushing the optional honey butter topping on the rolls.