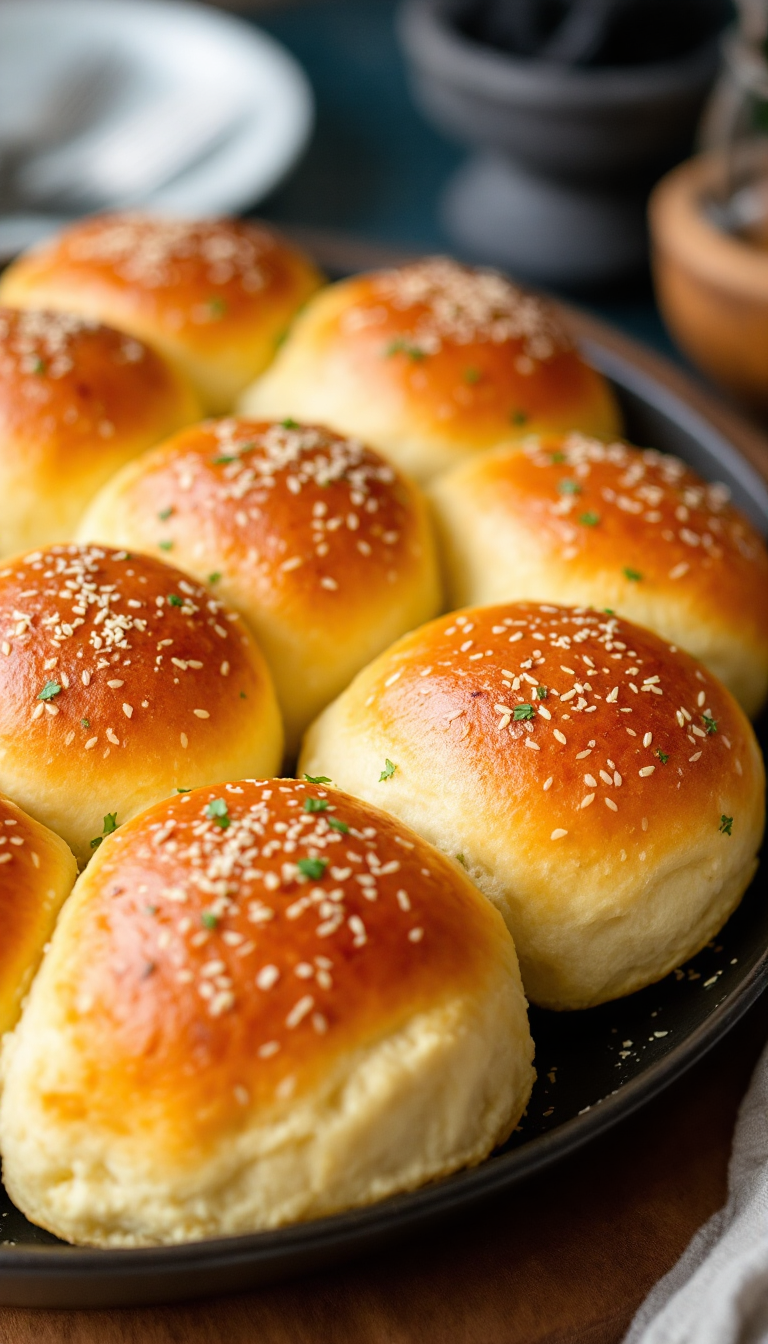
Ah, the joy of warm, fluffy dinner rolls—like little clouds of doughy delight that make any meal feel like a celebration. I remember my grandmother’s kitchen filled with the comforting aroma of freshly baked bread, and now, every bite takes me back there. These rolls are not just a side dish; they’re a memory, a hug in bread form, and trust me, once you try them, leftovers will be a myth.
Steps
- Preheat the oven to 400°F. In a large mixing bowl, combine warm water, vegetable oil, granulated sugar, and active dry yeast. Allow the mixture to rest until it becomes bubbly, which should take around 8 minutes.
- Add the beaten egg, softened butter, and salt to the yeast mixture. Gradually incorporate the all-purpose flour, one cup at a time, until a soft, non-sticky dough forms. Knead the dough for 10 minutes by hand or for 5 minutes using a stand mixer.
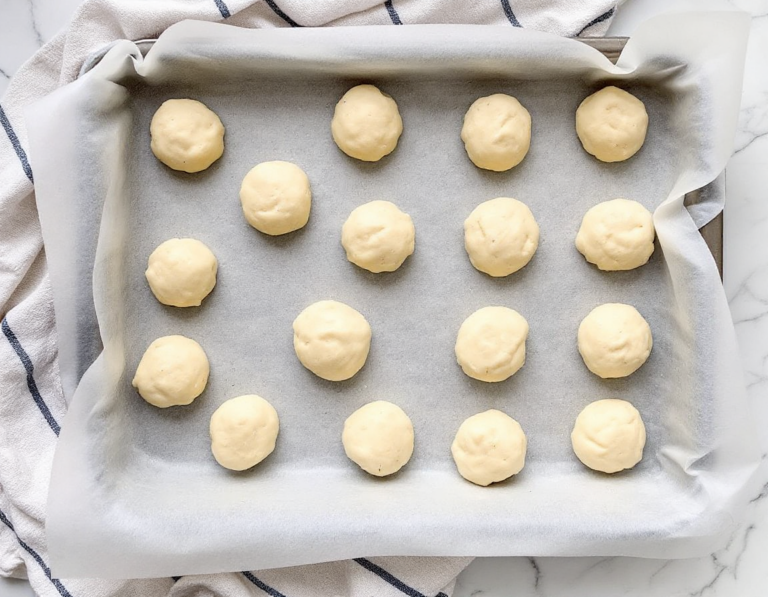
- Divide the dough into 18 equal portions and shape each portion into a ball. Arrange the balls in a greased baking pan, cover them with parchment paper and a kitchen towel, and let them rise in a warm place for 10 minutes.
- Lightly brush the tops of the rolls with room-temperature milk. Bake them on the middle oven rack for 10-12 minutes, or until they are lightly browned.
Ingredients
- Minute Dinner Rolls recipe:
- 1 cup warm water
- ? cup vegetable oil
- ¼ cup granulated sugar
- 2 tablespoons active dry yeast
- 1 large egg, beaten
- 1 tablespoon unsalted butter, softened
- ½ teaspoon salt
- 3 to 4 cups all-purpose flour (closer to 3 cups recommended)
- ? cup milk, at room temperature
Nutritional Values
Calories: 2412 | Carbohydrates: 342g | Protein: 54g | Fat: 90g | Saturated Fat: 18g | Cholesterol: 198mg | Sodium: 1368mg | Potassium: 576mg | Fiber: 18g | Sugar: 54g | Vitamin A: 648IU | Calcium: 126mg | Iron: 18mg
FAQ
- How long does it take to prepare these dinner rolls?
- The entire process, including preparation and baking, takes approximately 30 minutes. This includes 20 minutes of prep time and around 10 minutes of baking.
- Can I use store-bought dinner rolls instead of making them from scratch?
- While store-bought rolls are convenient and generally of good quality, they often contain preservatives for a longer shelf life. Making these rolls at home ensures they are free from additives, offering pure, wholesome goodness.
- What should I do if I have leftover rolls?
- If you have any rolls left over, they remain fresh the following day. They are delightful served with butter and jam in the morning, making for a comforting breakfast treat.
- How can I ensure the dough rises properly?
- Allow the dough to rise in a warm place for about 10 minutes. If you have more time, you can let them rise for up to an additional 30 minutes for even better results.
- What kind of flour is recommended for this recipe?
- All-purpose flour is recommended for this recipe. You will need between 3 to 4 cups, but closer to 3 cups is usually sufficient to achieve a soft, non-sticky dough.
Tips
- Ensure the yeast is bubbly before proceeding, which indicates it is active and will help the rolls rise properly.
- Use a stand mixer for efficient kneading, but if kneading by hand, be sure to do so for a full 10 minutes to achieve a soft, non-sticky dough.
- Allow the dough to rise in a warm place for at least 10 minutes, but if you have extra time, letting it rise for up to 30 minutes can result in even fluffier rolls.
- Lightly brushing the rolls with milk before baking will give them a nice, golden-brown finish.
Equipment
- Minute Dinner Rolls, here is a list of main equipment needed that you might not normally have at home and may need to buy:
- Stand Mixer – If you don’t prefer to knead by hand, a stand mixer can be used to mix the dough.
- 9×13 or 10×15 Baking Pan – Depending on the number of rolls you decide to make, you might need a specific size.
- Parchment Paper – Used to cover the rolls during the rising process.