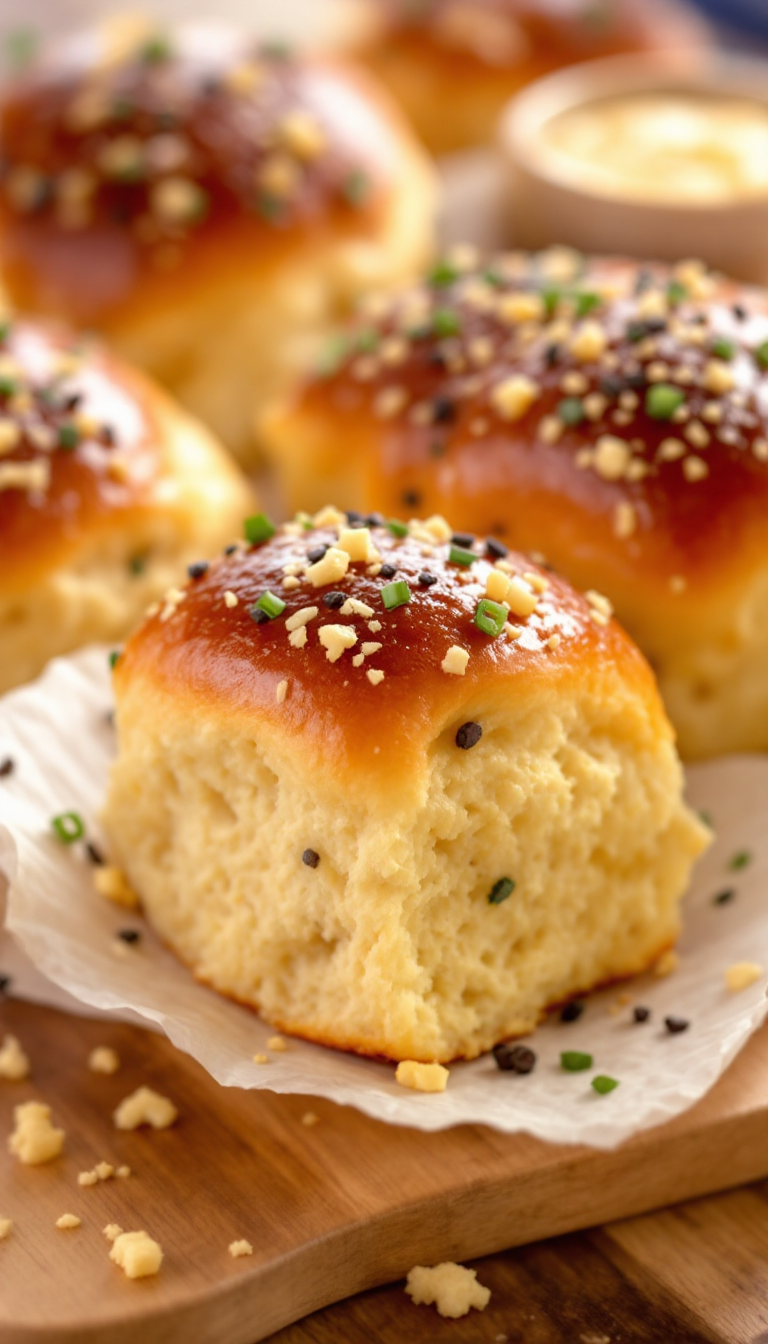
There’s something magical about the soft, fluffy texture of Hawaiian dinner rolls. With their subtle sweetness and buttery golden crust, they’re the perfect addition to any meal. Whether you’re planning a holiday feast or a simple family dinner, these rolls will steal the show. Let’s get baking and bring a little slice of paradise to your table!
Steps
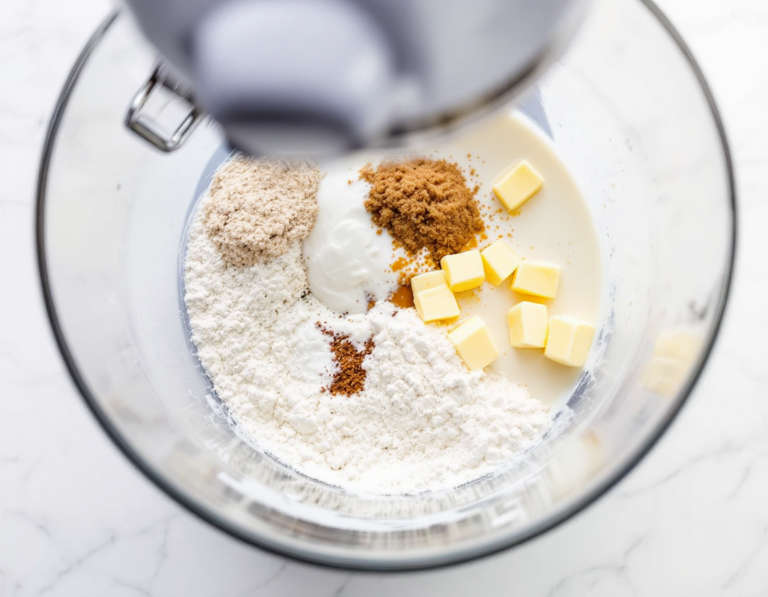
- In a stand mixer bowl, mix pineapple juice, milk, melted butter, granulated and brown sugars, eggs, vanilla, and yeast. Add all-purpose flour and 2 cups of bread flour, then stir until the mixture becomes a rough dough; incorporate the salt.
- Attach the dough hook and knead on medium-low speed, gradually adding more flour until the dough forms a cohesive ball. Continue kneading on medium-high speed for 4-5 minutes until smooth.
- Transfer the dough to a lightly greased bowl, cover with plastic wrap, and let rise until doubled in size, approximately 1.5 hours.
- Prepare a 9×13-inch metal baking pan with cooking spray. Deflate the dough gently, divide it into 15 pieces, shape each into a ball, and arrange in the pan.
- Mix the remaining egg with water for an egg wash and brush over the rolls. Cover with plastic wrap and let rise again until doubled, about 1 hour.
- Preheat the oven to 375°F. Bake the rolls for 20 minutes until they turn golden brown. Brush with melted butter and serve warm. Store leftovers in an airtight container for up to 3 days.
Ingredients
- ½ cup (116 grams) canned pineapple juice, at room temperature
- ½ cup (116 grams) whole milk, warmed to 100-110°F
- 5 tablespoons (71 grams) unsalted butter, melted and slightly cooled to around 85°F
- 6 tablespoons (75 grams) granulated sugar
- 2 tablespoons (25 grams) light brown sugar
- 2 eggs, at room temperature
- 1 teaspoon vanilla extract
- 2 ¼ teaspoons (1 packet) instant yeast
- 4 cups + 1 tablespoon (516 grams) to 4 1/4 cups (540 grams) bread flour, adjusted for kitchen climate
- ¼ cup (32 grams) all-purpose flour
- 1 ½ teaspoons fine salt
- 1 egg, lightly beaten
- 2 tablespoons water
- 1 tablespoon (14 grams) salted butter, melted
FAQ
- What are Hawaiian Rolls?
- Hawaiian Rolls are sweet, soft, and incredibly light rolls often found in supermarkets. These homemade versions are perfect for mini sandwiches, breakfast sandwiches, sliders, and more. They’re a big hit with kids too!
- Can I make Hawaiian Rolls without a stand mixer?
- While it’s possible to make these rolls without a mixer, it requires significant effort. Kneading by hand takes a lot of time and energy, so using a stand mixer is highly recommended for ease.
- How do I ensure my Hawaiian Rolls are fluffy?
- To achieve fluffy rolls, avoid adding excessive flour to the dough. Keep the dough slightly sticky rather than dense. The dough will become easier to handle after its initial rise.
- Can I use only all-purpose flour instead of bread flour?
- It’s best to use a combination of bread and all-purpose flour as specified in the recipe. Bread flour’s higher protein content helps develop gluten, crucial for the rolls’ structure and fluffiness. Using only all-purpose flour may result in denser, drier rolls.
- How long will these homemade Hawaiian Rolls last, and can they be frozen?
- These rolls last up to 3 days at room temperature in an airtight container. To extend their shelf life, freeze them for up to 3 months. Reheat in a 400°F oven for 5-10 minutes or in the microwave for 15-20 seconds until warm.
Tips
- Mind the Flour Amount: To achieve the perfect fluffy texture, avoid adding too much extra flour to the dough. A slightly tacky dough is preferable to ensure light and airy rolls.
- Climate Considerations: Be aware of your kitchen’s humidity level. In more humid environments, you’ll need a bit more flour, while in drier settings, start with less and adjust as necessary.
- Proofing Patience: Allow the dough adequate time to proof. This can vary based on your kitchen temperature, so check the dough by gently poking it—if it springs back slowly and leaves an indent, it’s ready.
- Shaping Technique: When shaping the rolls, create tight dough balls by pinching the dough into a central point. This ensures the rolls rise beautifully and maintain their fluffy texture.
Equipment
- Stand Mixer – Particularly a KitchenAid stand mixer, which is used for kneading the dough.
- Bench Scraper – Useful for sectioning the dough into equal pieces.
- 9×13-inch Metal Baking Pan – Recommended for baking the rolls to avoid excessive browning and drying out.
- Digital Kitchen Scale – Helpful for accurately measuring ingredients and portioning dough pieces.