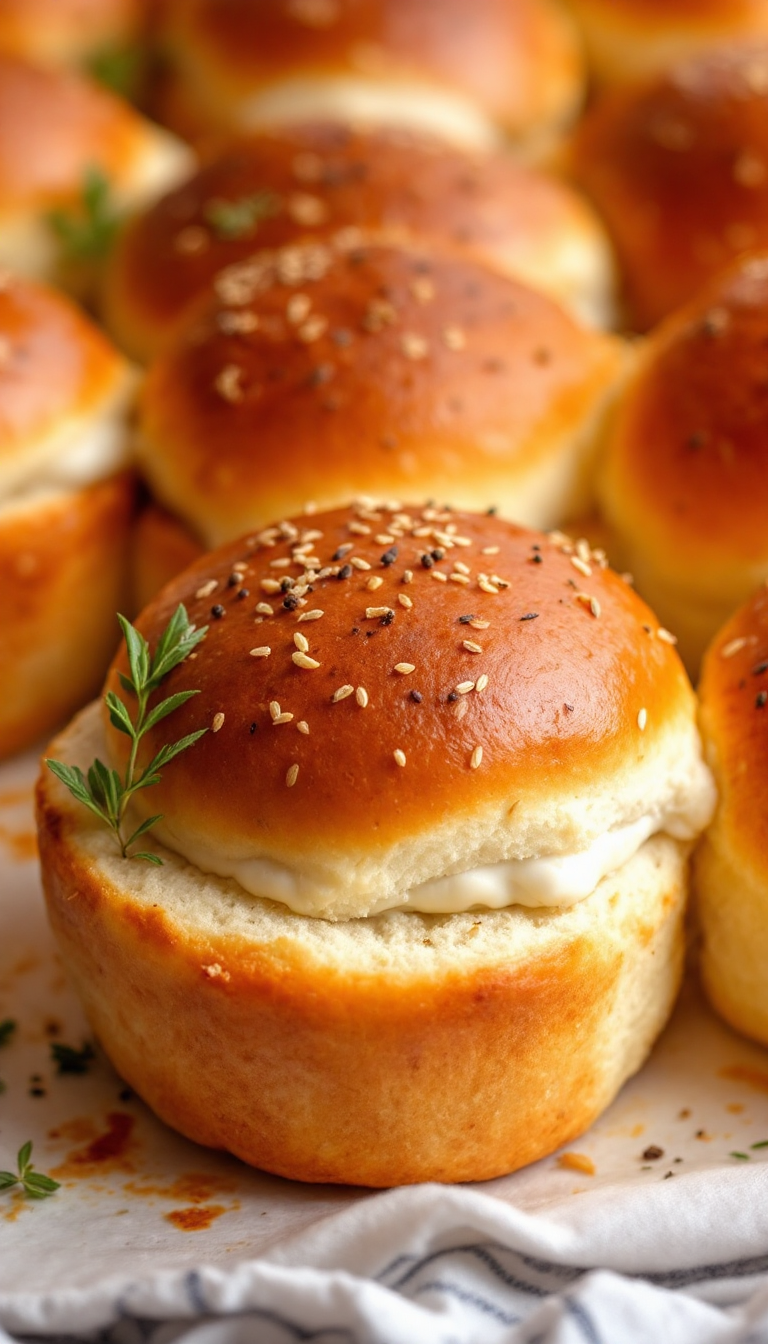
Ah, soft and fluffy rustic dinner rolls—there’s something almost magical about them, isn’t there? Like clouds kissed by golden rays, these rolls remind me of that time I got lost in a French bakery, the aroma of fresh bread swirling around like a warm hug. Whether you’re serving them at a family gathering or just indulging on a quiet evening, these rolls will win hearts faster than a viral dance on TikTok.
Steps
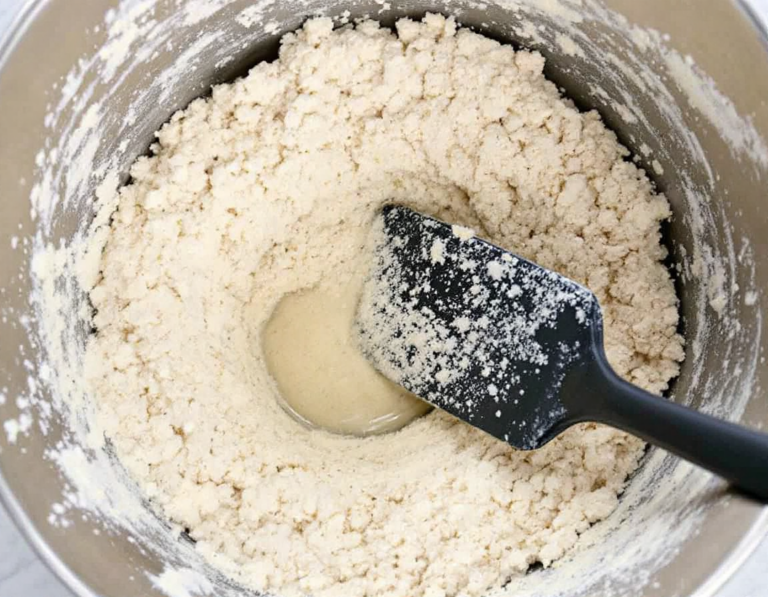
- In a large mixing bowl, combine bread flour, kosher salt, and active dry yeast. Create a well in the center and pour in room-temperature water, stirring with a sturdy spatula until everything is mixed and the dough is sticky.
- Cover the bowl with plastic wrap and let the dough rise at room temperature for 10 to 12 hours. By morning, the dough will have expanded and its surface will be bubbly.
- Prepare a baking sheet by lining it with parchment paper and preheat your oven to 425°F. Generously sprinkle a work surface with flour, then turn the dough out onto it and coat with flour by turning it several times.
- Divide the dough into 12 to 16 equal pieces, using a bench scraper to help if needed. Form each piece into a ball by pulling the edges under and pinching them together, then place on the prepared baking sheet with the pinched side facing up.
- Allow the shaped rolls to rise for 20 minutes. They may not rise significantly during this time, but they will expand beautifully once baked.
- Place the baking sheet in the oven and bake for 15 minutes. Rotate the pan and bake for an additional 5 minutes or until the rolls are golden brown. Transfer them to a rack to cool completely.
- If you plan to freeze the rolls, remove them from the oven when they are a pale golden color. Let them cool completely, then freeze on a baking sheet before storing in a zip lock bag. To reheat, thaw the rolls and warm them in the oven for 10-12 minutes at 325°F.
Ingredients
- 4 cups of bread flour, plus extra for shaping
- 2 teaspoons of kosher salt
- 1 teaspoon of active dry yeast (traditional)
- 2 cups of room-temperature tap water
FAQ
- Can these artisan rolls be made in advance?
- Yes, you can prepare a batch of these rolls ahead of time. Simply slightly under-bake them, allow them to cool, and then freeze. When you’re ready to serve, thaw them and warm them in the oven for 8-10 minutes, and they’ll taste freshly baked.
- Do I need to use warm water for the dough?
- No, you don’t need warm water. This recipe allows for room-temperature or even cold tap water. However, using warm water can speed up the rising process if you’re pressed for time. Keep in mind, though, that a longer rise with room-temperature water enhances the texture and flavor.
- What makes these rolls “ridiculously easy”?
- The simplicity of the recipe, which requires minimal hands-on time, is what makes these rolls ridiculously easy. You just mix the ingredients, let the dough rise overnight, and then shape and bake in the morning.
- Can I add flavors to the bread dough?
- Absolutely! While the basic recipe uses just four ingredients—flour, yeast, salt, and water—you can get creative by adding herbs and spices. Popular additions include rosemary and sea salt, or even Parmesan and black pepper for a flavorful twist.
- How do I prevent the dough from sticking while shaping the rolls?
- To keep the dough from sticking, generously flour your work surface and your hands. A metal bench scraper is also a helpful tool to manage the dough and maintain a clean surface.
Tips
- Flour your work surface generously: Use at least a ¼ cup of flour to prevent the dough from sticking. Additionally, keep your hands well-floured while shaping the rolls to make handling easier.
- Consider using a metal bench scraper: This tool can help you manage sticky dough by allowing you to move and coat it with flour efficiently. It also makes cleaning up simple, as you can scrape away any excess dough and flour from the counter.
- Experiment with a long, slow rise: While warm water can speed up the rising process, allowing the dough to rise overnight at room temperature enhances the rolls’ texture and flavor, giving them a craggier interior and a deeper taste.
- Shape the rolls with the pinched side up: Unlike most recipes that place the smooth side up, forming these rolls with the pinched side up gives them a rustic, artisan appearance once baked.
Equipment
- Metal Bench Scraper (Dough Scraper) – Useful for handling and dividing the dough as well as cleaning the work surface.
- Pre-cut Parchment Paper Sheets – Convenient for lining baking sheets without having to cut from a roll.
- Half Sheet Pan – If not already owned, this is essential for baking the rolls.